References
ProbitLab2 – Getting started
Step-by-step walkthrough to ensure proper installation of the ProbitLab2 platform.
STEP 1 – First setup preparations
Place the ProbitLab2 at a suitable location and do not connect any other devices to the ProbitLab2 unless otherwise instructed.
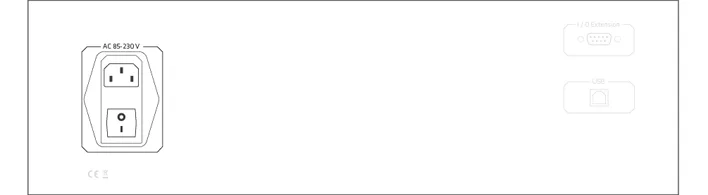
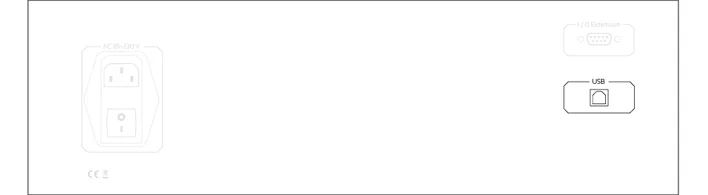
Plug in the power supply to the ProbitLab2 rear side and switch on the power.
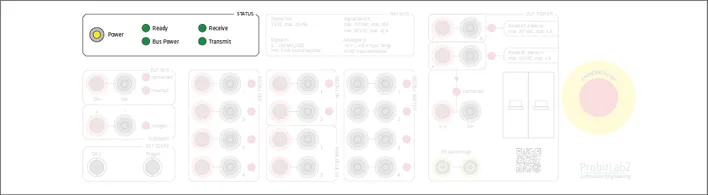
Make sure the emergency push button on the front side is released.
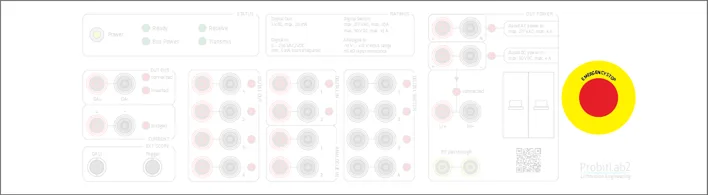
Check the Power LED and the power up light sequence on the front side.
STEP 2 – Drivers download
Download and unzip Probit Driver Package 2.12.36.4 WHQL and run "install.cmd" to install the driver package. You may be asked to permit administrator privileges to install the driver package. Driver package installation only needs to be performed once.
Plug in the back-side USB connection of the ProbitLab2.
Windows will try to find and install the proper drivers.
Important: ONLY in case installation fails, proceed with the following step for manual driver setup.
STEP 3 – Drivers manual setup
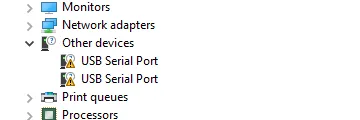
Open the device manager, where two new devices appear named as "ProbitLab2".

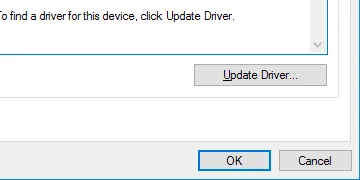
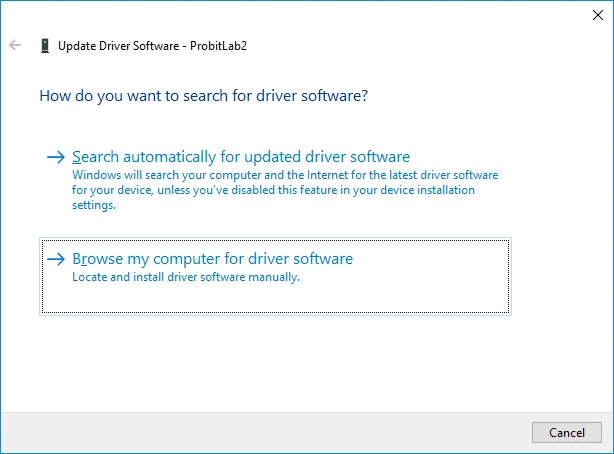
Open the properties of these devices and click on "Update Driver…".
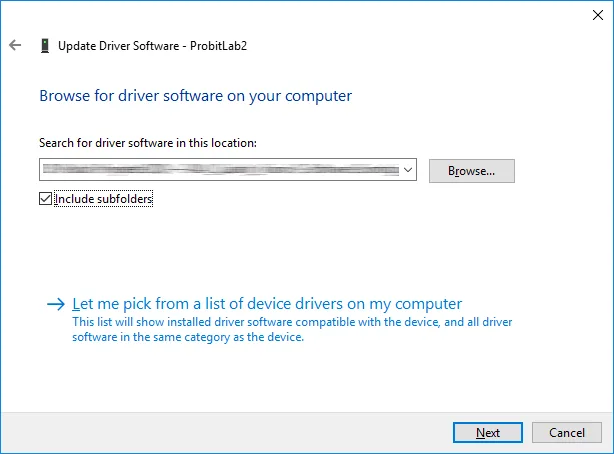
Select the drivers from the unzipped driver package folder for manual installation.
Make sure "Include subfolders" is selected and proceed with "Next".
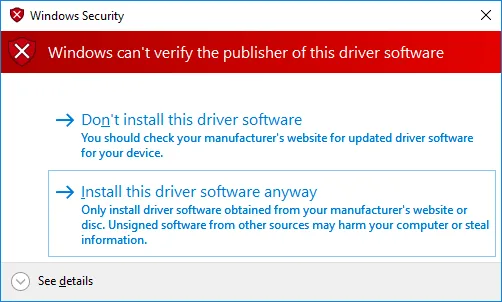
"Install this driver software anyway" to proceed with installation.
Two additional new devices should appear named as "USB Serial Port". Install the device drivers in the same way as before.
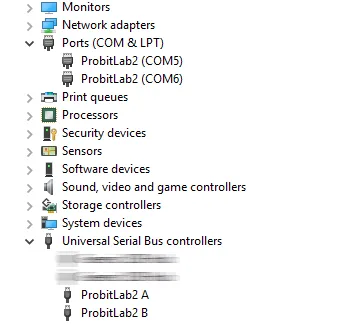
After successful installation, two serial port devices "ProbitLab2 (COMx)" and two USB devices "ProbitLab2 A" and "ProbitLab2 B" should appear.
STEP 4 – Software download
Download the latest ProbitBench including the test sequences from the DiiA webpage.
Note: When you are not member of DiiA or just want to download the ProbitBench without the DiiA test sequences, you can download ProbitBench V4.7.1.0 from our downloads page.
Unzip the package to your desired directory location.
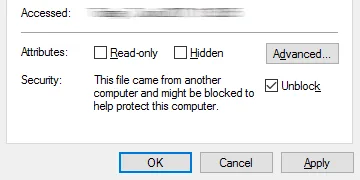
Caution: Before unzipping the ProbitBench package, open the zip file property. You might see a message "This file came from another computer and might be blocked to help protect this computer". In this case please click "Unblock" and then "OK".
STEP 5 – Software setup
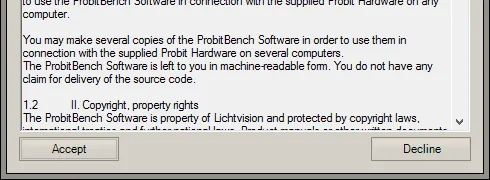
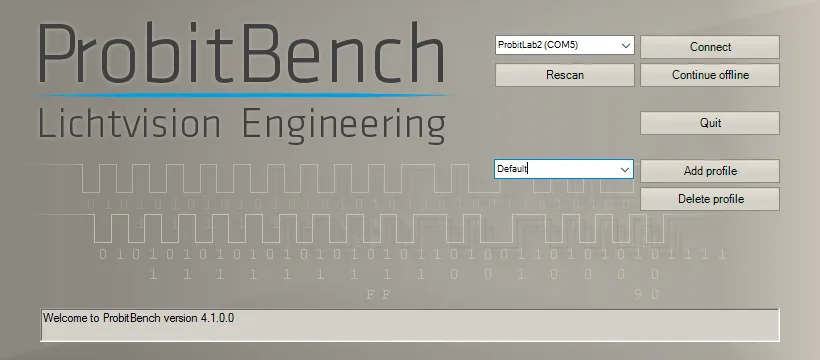
Start the "ProbitBench.exe" from the unzipped folder. On first start the EULA is shown which needs to be accepted to proceed.
The ProbitBench will scan for connected devices and should show the ProbitLab2 in a drop-down list. To begin with, keep the default profile and click "Connect".
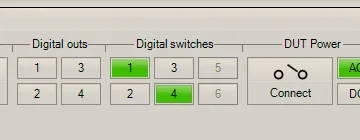
After ProbitBench has started completely, you can manually test for proper operation, e.g. by clicking on the numbered "Digital switches" buttons. You should hear and see that the corresponding digital switch relays are working.
Note: You might get a message that a new ProbitBench and/or a new firmware for the ProbitLab2 is available. In this case please update to the latest application and/or firmware version to ensure proper operation.
Downloads
Need help with this step?
Our DALI engineers are happy to help with any ProbitLab or ProbitBench question.